
For some reason, I had built up whitewashing my fireplace to be this daunting task that would take up a lot of time and energy so I kept putting it off. Well, this past Christmas we agreed to host my entire family over for Christmas Eve and that was exactly the motivation I needed to finally tackle this long-awaited project.
It turned out to be one of the easiest DIY home projects I’ve done to date and I could kick myself for not getting this done sooner! If whitewashing your fireplace so happens to be a DIY project you’ve been putting off, trust me when I say that if I can do this project so can YOU!
Below I’m going to list step by step instructions with some tips and tricks I learned along the way.
What You’ll Need
- White Latex Paint
- Gloves
- Paint Rags (you will need several of these and make sure to put them through a wash cycle before using them)
- Bucket
- Stir Stick
- Water
- Drop Cloth
- Painters Tape
- Broom/ Vacuum
- Large old plastic cup that can be thrown away
Step 1
Prep your fireplace! I took a broom to every stone and swept off any dust and dirt that was on the stone and then vacuumed up what I couldn’t get off with the broom. I’ve heard of some people washing the stone with a wet rag or sponge but to be honest you don’t really need to do that. A good sweep and vacuum will do the trick!
Once I cleaned up all the stone I was able to tape around the fireplace to protect the walls from getting the whitewash on them with painters tape. Then I laid down my drop cloth and was ready to start painting!
Step 2
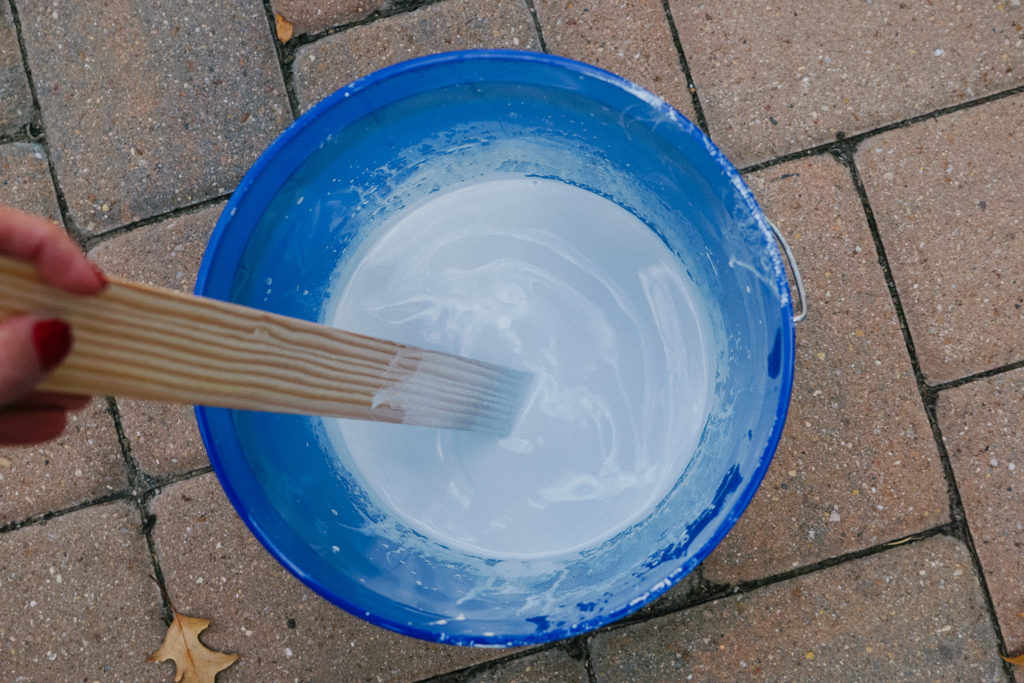
Mix the water and paint to form your whitewash! I used an old plastic cup to measure out my paint and water portions. Think 3/4 parts water to 1/4 part paint. Pour the measured out portions into a bucket and start stirring! Make sure you stir the paint and water together really well getting all the paint that has sunk to the bottom of your bucket.
*TIP* The whitewash mixture needs to be watery and not too thick. REMEMBER THAT YOU CAN ALWAYS ADD MORE PAINT BUT YOU CANNOT TAKE IT AWAY ONCE IT’S BEEN APPLIED TO THE STONE.
Step 3
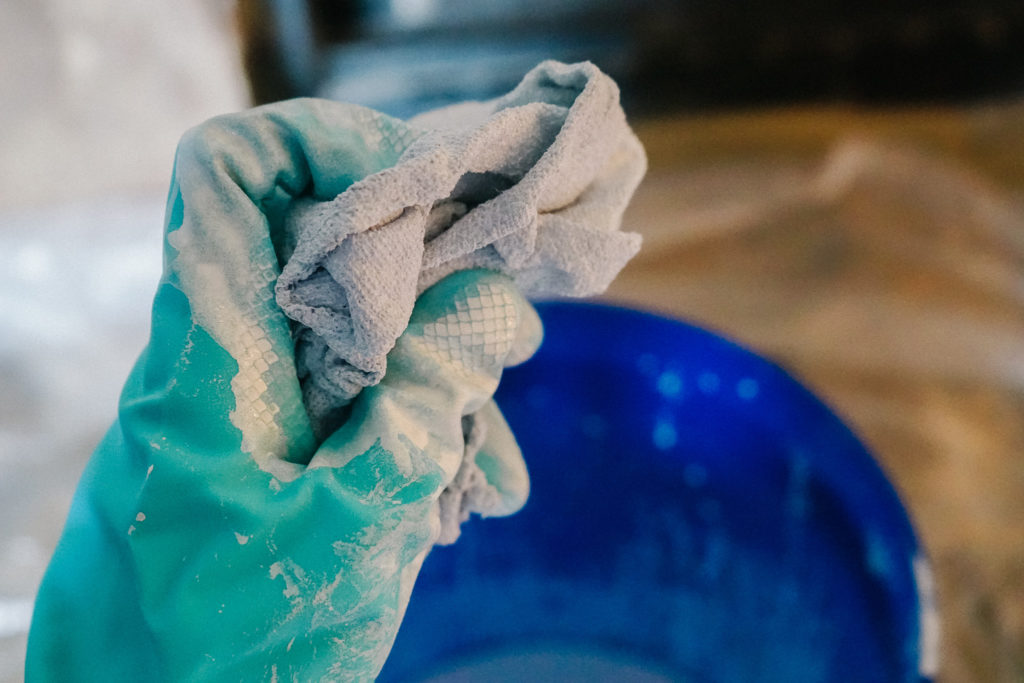
Start whitewashing! Grab your gloves and two washed and dried rags. You will need one for dipping into the whitewash and the other for blotting.
*TIP* I preferred using rags over a sponge or paintbrush because the rags were able to get into all the crevices of the stonework the best.
I would suggest starting with a small test area
The best way to go about getting the right consistency is through trial and error so that’s why I suggest starting with a small test area!
Take your designated painting rag and form a ball over the tips of your fingers. Submerge just the ball you formed into the whitewash and once that is good and wet press your rag into the stone. While the paint is still wet follow up with your dry rag to blot any excess paint.
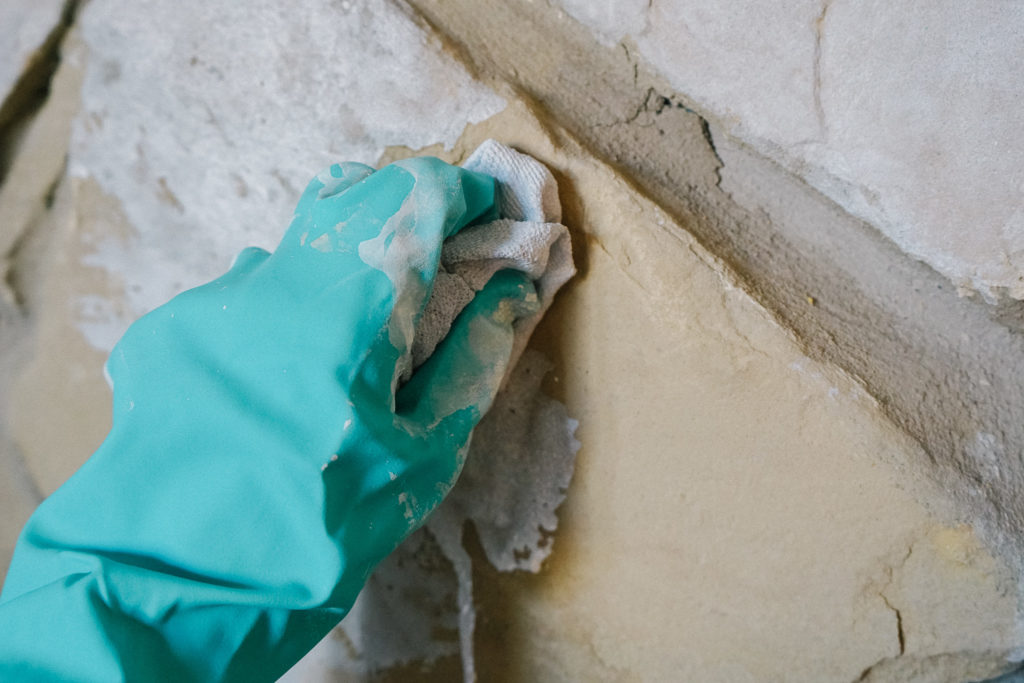
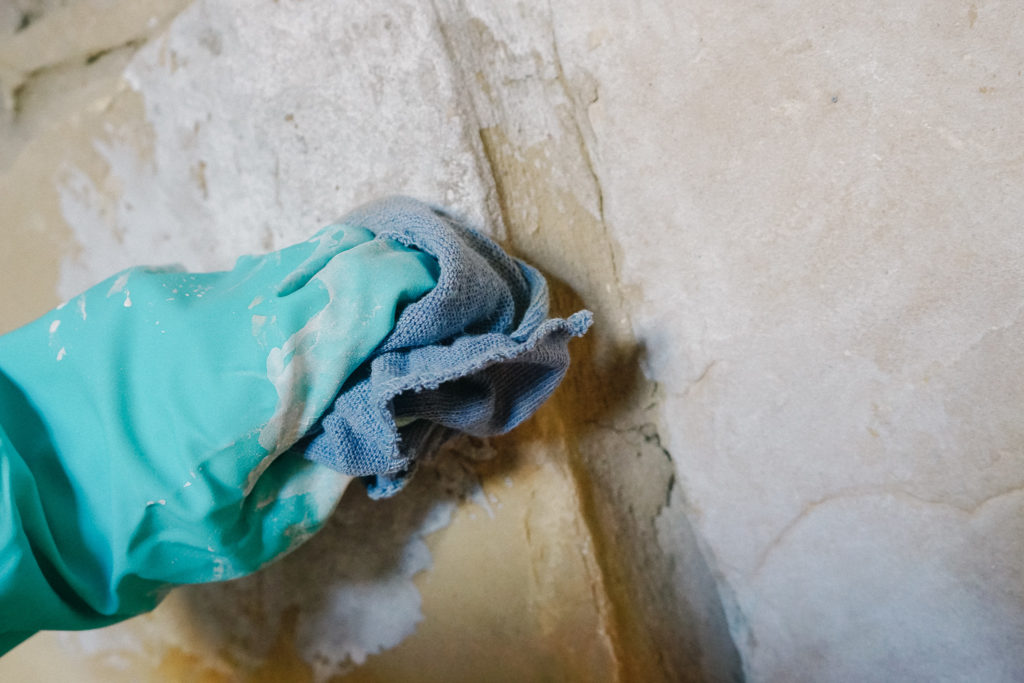
*TIP* You will want to soak up any drip marks that happen immediately with your dry blotting rag. If you wait too long to blot those drip marks up they will show through the whitewash.
Final Step
Once you have the consistency you are looking for go ahead and tackle the rest of the fireplace. I promise you will get more comfortable with the process as you go along!
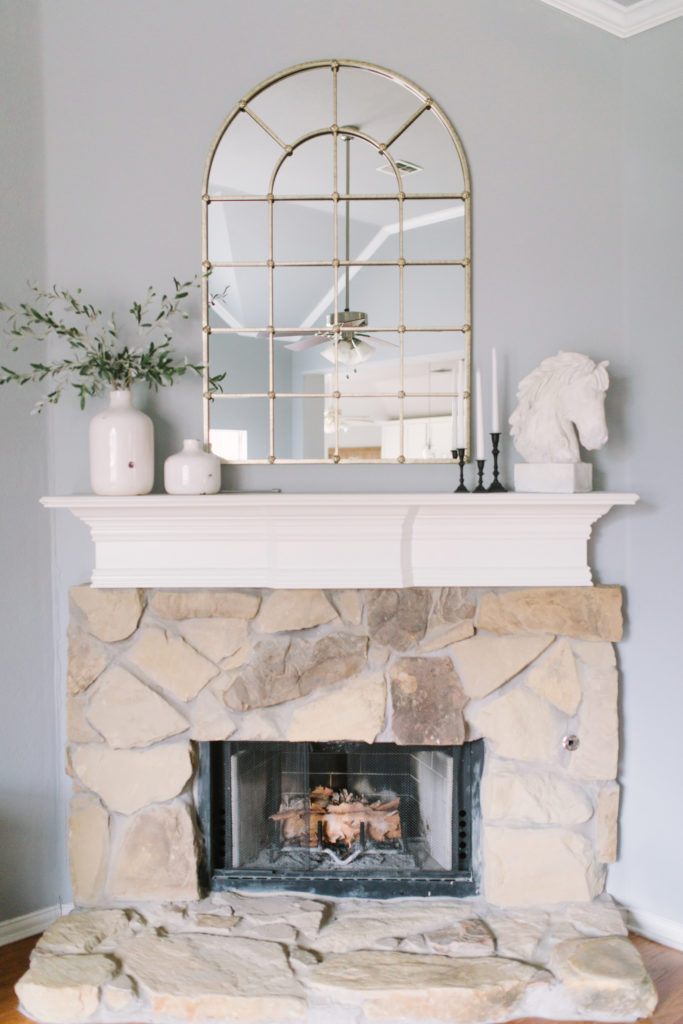
Before 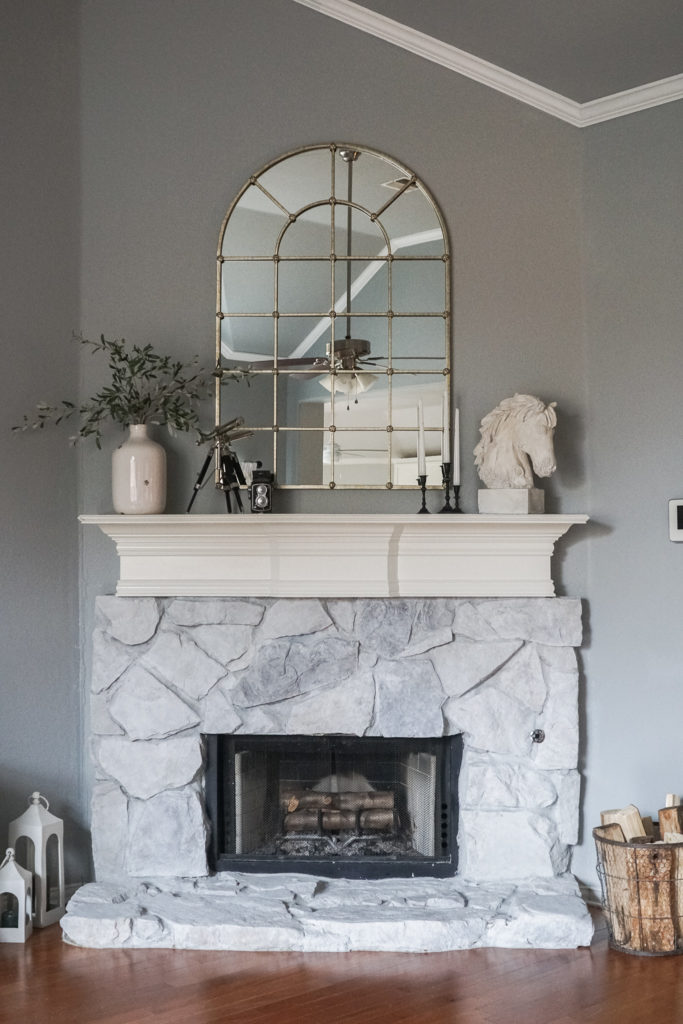
After
Happy painting friend!
XO
Christine
We need to do this seriously. … our fireplace is just out of order. I love this post and will definitely use ur steps to put ours in order
Thank you, Jason! Good luck with your project!
I’ve been wanting to cover up the flagstone fireplace we have and just thought that it would be a tedious task to do.
Now I can do it by following your easy steps. Thank you so much for this post!
I’m so glad this post made you feel like you can tackle your own fireplace! You can do it! If you have any questions along the way feel free to ask me!!
Hi Christine, I’m so glad you gave the instructions for this, I’ve been putting it off for a while. I’m just wondering if you used white paint why it looks gray next to the white mantle, or did you use a gray paint?
Hi Nancy!
I washed down my white paint quite a bit with water because I wanted that “whitewash” appearance versus a painted stone look. I liked that the stone still kept some of its natural texture tones.